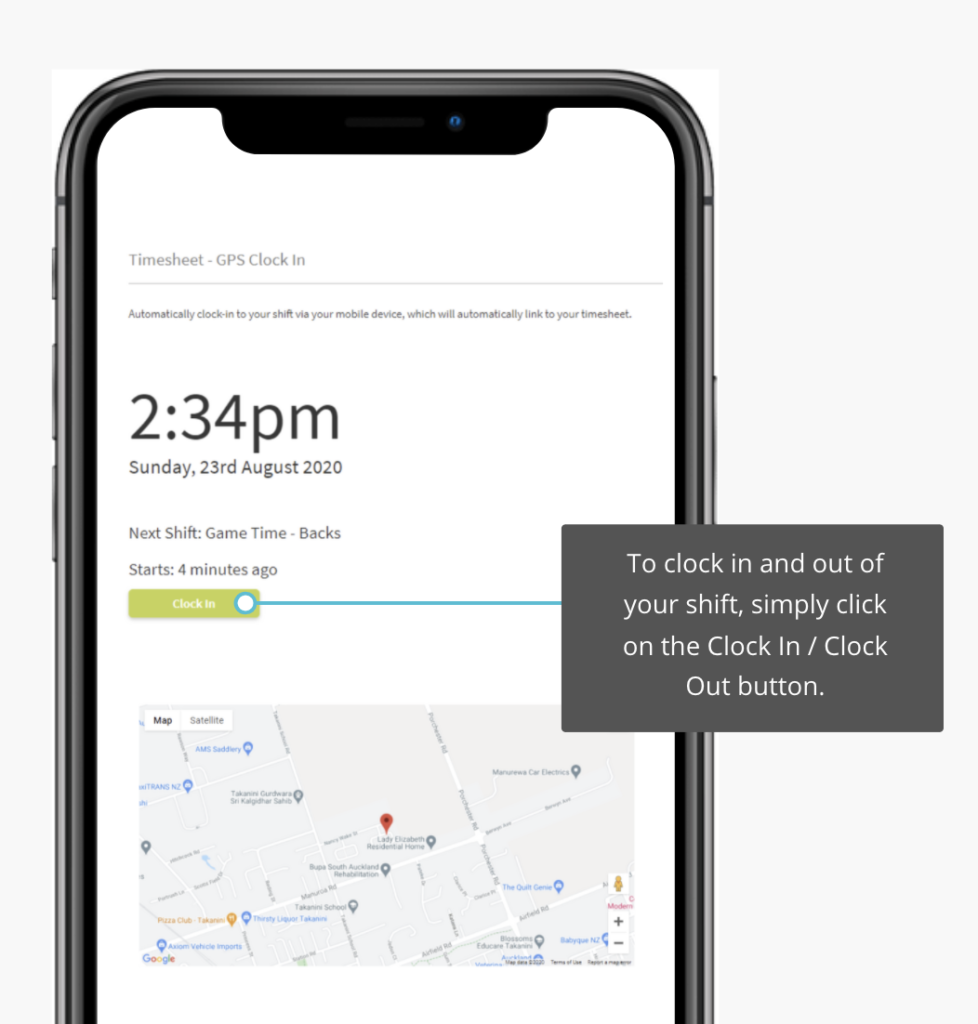


Rosterit also has the capability of displaying the GPS location of where the user has clocked in directly from the Timesheet.
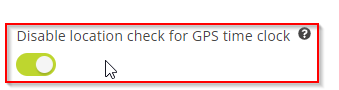
Further to this, you can now remove the GEO fencing on GPS timesheets and allow users to clock in from anywhere (e.g. for contractors on the go).